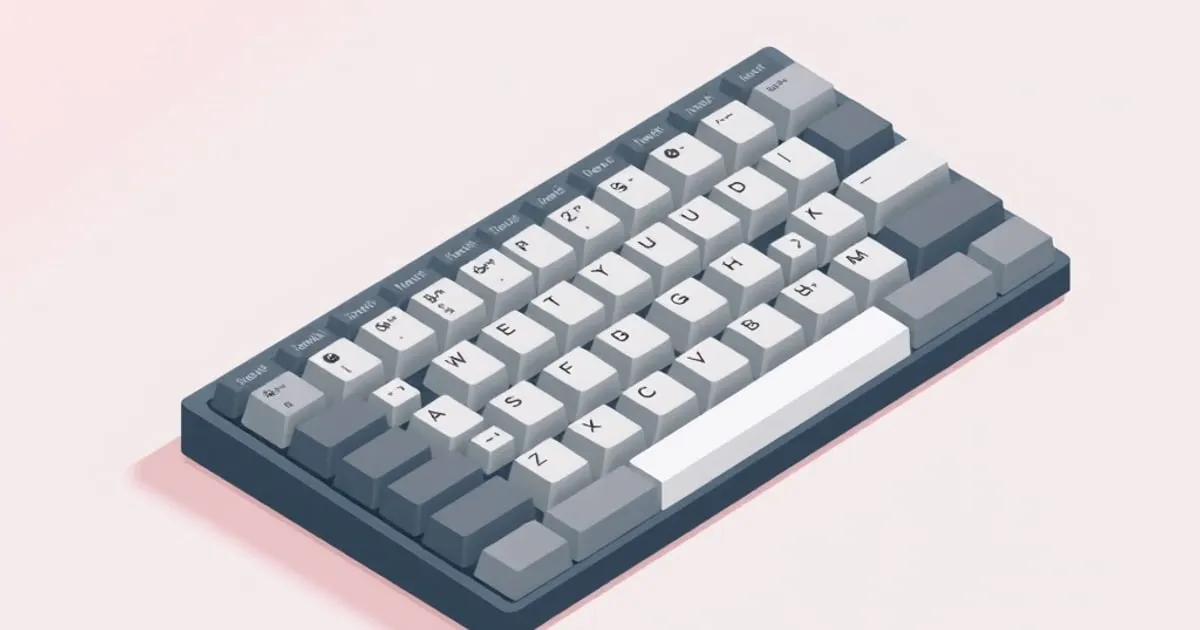
Pulling a keycap looks trivial — grab, lift, done. It mostly is, until the moment you crack a stem on a vintage ABS set, bend a switch pin, or pop a stabilizer wire out of its housing because you yanked at an angle. Every one of those is fixable, but the fix is annoying and the damage is sometimes permanent. This guide walks through the actual technique for installing and removing keycaps without hurting either the caps or the board underneath, what tools matter (and which to avoid), and the specific failure modes that catch people out — especially on thin ABS sets and large stabilized keys.
The job in one sentence
Pull straight up, push straight down, never twist, and use the right puller. That is the entire skill. Everything below is the reasons why each part of that sentence matters, and the situations where the simple version is not enough.
What you are pulling against
A standard MX-compatible keycap mounts onto a small plastic cross (the ”+” stem) protruding from the top of the switch. The cap has a matching cross-shaped socket inside that grips the stem by friction. There is no clip and no latch — the only thing holding the cap on is the snug fit between socket and stem.
Stem and mount is one of the five axes that define a set — the others being profile, plastic, legend method, and kit coverage, all laid out in types of keycaps — and it is the one that decides whether a cap will even go on the switch in front of you.
That has two implications:
- Pulling force has to overcome friction. The friction can be substantial on a new set, especially one that fits tightly. You may need real force, and that force has to be straight up.
- The stem and the socket are both plastic and both wear. Every install and removal cycle abrades them slightly. ABS gets brittle as it ages; tight fits on old ABS sets are where you hear the unmistakable snap of a broken stem.
Knowing this changes how you handle removal: the goal is not strength, it is alignment.
The tools, ranked
Three common puller types, in order of how kind they are to your caps:
- Wire puller. Two thin steel loops on a handle. Hooks under opposite sides of the keycap and lifts evenly. The standard answer. Cheap, durable, works on every profile, and applies pulling force where you want it — at the base of the cap, pulling straight up.
- Plastic ring puller. A plastic ring with internal teeth that grips the sides of the cap. Works, but grips the sides (the legend area) rather than slipping underneath. On printed or pad-printed caps it can mar legends; on tight caps it can flex and slip. Acceptable for occasional use; not the first choice.
- Fingers and a fingernail. Fine in a pinch on a small key, but you cannot apply even force on both sides simultaneously, and you almost always end up rocking the cap to break it loose. Rocking is the single most common cause of damage.
Skip rigid metal pullers and anything that wedges between cap and plate — they put leverage on the wrong parts. A wire puller costs almost nothing; buy one before you buy a set.
Removal technique (step by step)
- Approach from the front and back of the cap, not the sides. The wire loops should hook under the front and rear skirts, where there is more material and no legend.
- Seat the wire fully under the cap. A shallow hook will tear off mid-pull and embarrass you. The loops should sit flat against the underside of the cap, gripping the inside edge of the skirt.
- Pull straight up with steady force, keeping the puller perpendicular to the board. Both hands if it is a tight new set. If it does not move with reasonable force, stop — reseat the puller and try again, do not increase angle.
- Do not twist or rock. Twisting torques the switch stem sideways; the stem is thin plastic and breaking it is how a $1 switch becomes a desolder job. Rocking puts uneven leverage on the cap and is the classic way to crack an ABS stem.
- Lift the cap clear and set it aside upside down. Pulled caps are no longer in your set’s neat arrangement — work in rows and keep them ordered (a printed layout map helps if you are doing a full swap on an oddly-sized board).
The same technique works for every standard 1u key. Stabilized keys are a separate case below.
Stabilized keys (spacebar, Shift, Enter, Backspace)
Identify the stabilizer mechanism before removing a long key. Cherry-style stem mounts and Costar wire-and-insert mechanisms need different handling; a wire-clipping step is not universal.
Cherry-style stem-mounted stabilizers
The keycap seats on the central switch stem and the stabilizer stems at either side. Lift evenly so the sockets release from those stems. The stabilizer wire stays in the keyboard assembly; do not detach it for an ordinary keycap swap. The cited Glorious installation guide seats long keycaps directly onto their mounts.
To reinstall, align the cap’s center socket and both stabilizer sockets with their stems, then press down evenly. Stop if one side binds instead of pressing harder.
Costar wire-and-insert stabilizers
On a Costar mechanism, the wire engages inserts attached to the keycap. Lift slowly and support the cap as it clears the switch. If the wire remains engaged, stop pulling and disengage it from the cap’s inserts using the keyboard maker’s procedure. Keep the inserts with the cap.
To reinstall, reconnect the wire to the cap’s inserts as the maker specifies, align the central socket with the switch stem, and seat the cap evenly. If you cannot identify the mechanism or its attachment points, consult the keyboard’s instructions before continuing.
Installation technique
Installing is mostly the reverse, with one new failure mode — bent switch pins on hot-swap boards.
- Align the cap’s stem socket over the switch’s cross stem. Check the legend orientation and the intended row before pressing.
- Press straight down gently, evenly over the center of the cap. Do not use a click as proof that the cap is seated, and stop if it binds.
- Do not press at an angle. On a hot-swap board, pressing a cap on at an angle can shove the switch sideways in its socket, which bends the two metal pins on the bottom of the switch. Bent pins are recoverable with tweezers but it is a hassle and repeated bending breaks them. Solder-in boards are immune to this specific failure, but pressing a cap on at an angle can still stress the switch stem.
- For stabilized keys, follow the mechanism-specific steps above. Cherry-style caps press onto the switch and stabilizer stems with the wire left in place. Costar caps require the wire-and-insert connection to be restored before seating.
Check that the key moves and returns without binding. If it sits unexpectedly high or one end sticks, remove it carefully and check the row, sockets, and alignment before reseating.
ABS and brittle stems
The most common “I broke my keycap” story is a stem snapping off inside the switch on an old ABS set. ABS hardens with age and impact resistance falls; a stem that was fine for a year of typing can shear off the first time you pull the cap with even moderate twist.
If you are working with a vintage or well-loved ABS set:
- Pull especially slowly and straight.
- Warm the room slightly — cold plastic is more brittle. Pulling a cap that has been sitting in a cold office is genuinely riskier than pulling the same cap after the board has been on for an hour.
- Accept some attrition. Old ABS sets occasionally lose a stem no matter how careful you are; if the set is precious, decide in advance whether you want to risk a full pull at all.
PBT is more forgiving but not invincible — the same straight-up rule applies.
Cleaning between pulls
Pulling every cap is the right moment to give the board a keycap wash after removing the caps. Keep the electronics separate and follow the keyboard maker’s instructions for the board underneath. Doing it during a swap costs nothing extra and you will not find a better time.
The honest verdict
Use a wire puller, keep the cap aligned with its mount, and identify the stabilizer before handling a long key. Stop when a part resists rather than treating more force as the solution. If a cap still will not sit right after a careful reseat, Keycap Specs’ guide to keycap wobble covers loose stems, wobble and stabilizer interference. For unfamiliar switch models, read the clone-brand compatibility checks before choosing a replacement set.
Related across the network
- How to Clean and Maintain a Mechanical Keyboard — mechkbguide.com
- Spacebar Rattle or Ticking? How to Fix Keyboard Stabilizers — mechkbguide.com


